How to Fix (BSOD) : A Detailed Guide

If you’ve encountered the “Critical Process Died” blue screen error on your Windows PC, you’re not alone. This error often indicates a serious issue with your operating system that requires immediate attention. Fortunately, there are methods to access advanced recovery options and potentially resolve this issue. In this comprehensive guide, we’ll walk you through two methods for accessing advanced recovery options and provide step-by-step instructions to fix the error.
Understanding the Critical Process Died Error
The "Critical Process Died" error is a Blue Screen of Death (BSOD) that occurs when a crucial system process or thread fails to execute. This could be due to corrupted system files, faulty drivers, or hardware issues. The error message typically reads, “Your PC ran into a problem and needs to restart.”
Method 1: Accessing Advanced Mode from the Desktop
If you can access your desktop, follow these steps to reach the advanced startup options:
- Open Advanced Startup Options:
- Click on the Windows icon in your taskbar to open the Start menu.
- Type “Reset this PC” in the search bar. This will bring up relevant settings.
- Select “Reset this PC” from the search results.
- In the Reset this PC window, locate and click on the “Advanced Startup” link.
- Click on the “Restart now” button under Advanced Startup.
- Navigating Advanced Mode:
- Your PC will restart and boot into the Advanced Startup Options menu.
- Select “Troubleshoot” from the options presented.
- Click on “Advanced options”.
- Choose “Command Prompt” from the list of advanced options.
- Executing Repair Commands:
- The Command Prompt window will open. You may be prompted to enter your login credentials.
- Type the following commands one by one, pressing Enter after each command:
bootrec /fixmbr
bootsect /nt60 sys
bootrec /fixboot
bootrec /rebuildbcd
sfc /scannow
chkdsk /f /r c: - Explanation of Commands:
bootrec /fixmbr: Repairs the Master Boot Record (MBR) to fix boot-related issues.
bootsect /nt60 sys: Updates the boot sector code.
bootrec /fixboot: Writes a new boot sector to the system partition.
bootrec /rebuildbcd: Scans for and repairs boot configuration data.
sfc /scannow: Scans and repairs corrupted system files.
chkdsk /f /r c:: Checks and repairs errors on the hard drive.
- Note: The sfc /scannow command might take several minutes to complete. Similarly, the chkdsk command can take 10 to 15 minutes, depending on the size and condition of your hard drive.
- Restart and Check:
- Once all commands have been executed and completed, close the Command Prompt window.
- Click on “Continue” to restart your PC.
- Check if the error has been resolved and if your PC is functioning correctly.
Method 2: Accessing Advanced Mode Without Desktop Access
If you cannot log in or access the desktop, use this method to trigger the Advanced Startup Options:
- Trigger Automatic Repair:
- Power on your laptop or desktop.
- As soon as the Windows logo appears, press and hold the power button until the PC shuts down.
- Repeat this process two more times (power on and force shutdown) to initiate the Automatic Repair mode.
- Navigating to Advanced Options:
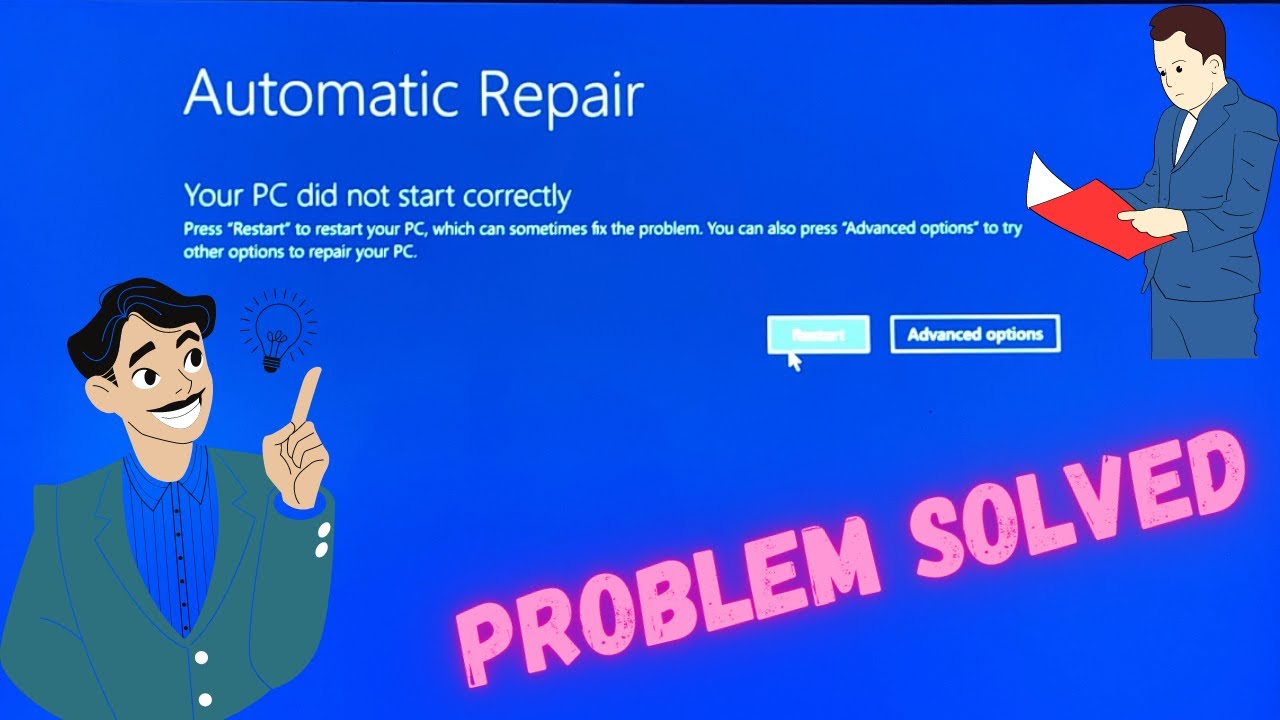
- After the third forced shutdown, Windows will start the Automatic Repair process.
- You’ll see a screen that says “Preparing Automatic Repair”, followed by “Automatic Repair”.
- Wait for Windows to display the “Advanced options” menu.
- Access Command Prompt:
- Select “Advanced options”.
- Choose “Troubleshoot” > “Advanced options” > “Command Prompt”.
- Executing Repair Commands:
- In the Command Prompt window, type the following commands one by one, pressing Enter after each:
bootrec /fixmbr
bootsect /nt60 sys
bootrec /fixboot
bootrec /rebuildbcd
sfc /scannow
chkdsk /f /r c: - The purpose and function of each command are the same as described in Method 1.
- In the Command Prompt window, type the following commands one by one, pressing Enter after each:
- Restart and Verify:
- After running the commands, close the Command Prompt.
- Click on “Continue” to restart your PC.
- Check if the issue is resolved and if your system is functioning properly.
Additional Tips and Troubleshooting
- Backup Your Data: If you have access to your files, consider backing up important data before making any significant changes or repairs.
- Check Hardware: Sometimes, hardware issues can cause critical errors. Ensure that your hard drive, RAM, and other components are functioning correctly.
- Update Drivers: Faulty or outdated drivers can contribute to system errors. Update your drivers through Device Manager or by visiting the manufacturer’s website.
- Seek Professional Help: If the error persists despite following these steps, it may be time to consult a professional technician for further assistance.
By following these detailed methods, you can address the “Critical Process Died” blue screen error and restore your Windows PC to normal operation. If this guide was helpful, please leave a comment and share it with others who might need it. Stay tuned for more tech tips and troubleshooting guides!
How to Fix "Preparing Automatic Repair" Error on Windows: Comprehensive Step-by-Step Guide
If you’re dealing with the frustrating "Preparing Automatic Repair" error on your laptop or desktop, you’re not alone. This common issue can prevent your system from booting properly, but don't worry—we’ve got you covered. In this detailed guide, we’ll walk you through several methods to resolve this error and get your system running smoothly again. Let’s get started!
1. Use Startup Repair
Step 1: Access Advanced Options
- On the blue screen displaying the error, click on "Advanced Options."
- You will be directed to a menu. Choose "Troubleshoot" from the options.
- Next, click on "Advanced Options."
Step 2: Run Startup Repair
- In the "Advanced Options" menu, select "Startup Repair."
- This tool will attempt to fix any issues related to startup files automatically. Click on it to begin.
- The process might take a few minutes, during which Windows will diagnose and attempt to correct any issues preventing your system from booting.
If your system boots up successfully after this repair, you’re done! If the problem persists, proceed to the next method.
2. Use Command Prompt for Manual Repairs
Step 1: Open Command Prompt
- Return to the "Advanced Options" menu under "Troubleshoot."
- Select "Command Prompt."
Step 2: Run System File Checker
- Type sfc /scannow into the Command Prompt window and press Enter.
- The System File Checker (SFC) tool will scan for and repair corrupted Windows system files. This process usually takes between 3 to 5 minutes.
Step 3: Check Disk for Errors
- After the SFC scan completes, enter the following command: chkdsk /f c: and press Enter.
- The Check Disk (CHKDSK) utility will check for and fix errors on your hard drive. This step can take around 10 to 15 minutes, depending on the size of your drive and the extent of the errors.
Step 4: Restart Your System
- Close the Command Prompt window.
- Click "Continue" to restart your computer and see if the issue is resolved.
If the error persists, don’t worry—there are more methods to try.
3. Perform a System Restore
Step 1: Access System Restore
- Navigate back to "Advanced Options" in the "Troubleshoot" menu.
- Select "System Restore."
Step 2: Choose a Restore Point
- Follow the on-screen instructions to select a restore point from a date before the issue started.
- Click "Next" and then "Finish" to begin the restoration process.
System Restore will revert your computer to a previous state, potentially fixing the problem if it was caused by recent changes. If no restore point is available or if the issue continues, proceed to the next method.
4. Uninstall Recent Updates
Step 1: Open Uninstall Updates
- Go back to "Advanced Options" under "Troubleshoot."
- Click on "Uninstall Updates."
Step 2: Remove Updates
- You’ll be presented with options to uninstall recent updates. Select both the "Uninstall Latest Quality Update" and "Uninstall Latest Feature Update" options one by one.
- These steps can resolve issues caused by problematic updates that may have triggered the error.
If this doesn’t resolve the problem, move on to the following method.
5. Repair Boot Files Using Command Prompt
Step 1: Reopen Command Prompt
- Access "Command Prompt" from the "Advanced Options" menu.
Step 2: Enter Boot Repair Commands
- Type the following commands one by one, pressing Enter after each:
- bootrec /fixmbr — Repairs the Master Boot Record.
- bootrec /fixboot — Writes a new boot sector.
- bootrec /scanos — Scans all disks for installations compatible with Windows.
- bootrec /rebuildbcd — Rebuilds the Boot Configuration Data.
Step 3: Restart Your System
- Close the Command Prompt window.
- Click "Continue" to restart your computer.
If these steps don’t resolve the issue, continue to the next method.
6. Boot into Safe Mode
Step 1: Access Startup Settings
- Return to "Advanced Options" and select "Startup Settings."
- Click "Restart" to reboot into Startup Settings.
Step 2: Enter Safe Mode
- When your computer restarts, press the F5 key to boot into Safe Mode with Networking.
Step 3: Uninstall Problematic Software
- Once in Safe Mode, open Control Panel by right-clicking the Windows icon and selecting "Run," then typing control and hitting Enter.
- In the Control Panel, switch the "View by" option to "Small icons."
- Click on "Programs and Features."
- If you’ve recently installed any software or games before encountering the blue screen error, uninstall them by selecting the program and clicking "Uninstall."
- Arrange your software list by date to find recent installations more easily.
After uninstalling any problematic software, restart your system to check if the issue is resolved.
7. Reset Your PC
Step 1: Select Reset Option
- From the "Advanced Options" menu, click on "Reset this PC."
Step 2: Choose Keep My Files
- Opt for "Keep My Files" to retain your personal data while resetting the system.
- Click "Local Reinstall" to reinstall Windows locally while preserving your files.
Step 3: Start the Reset Process
- Click "Reset" to initiate the process. This will remove installed applications but keep your personal files intact.
- The reset process will take approximately 30 minutes to complete.
This should fix most issues without data loss. However, be aware that installed applications will be removed.
Conclusion
And that wraps up our comprehensive guide on fixing the "Preparing Automatic Repair" error. We hope these steps help you resolve the issue and get your computer back in working order.